In this post I'll be describing how to thermoform HDPE pipe, a technique that I think anyone doing water and sanitation work in Vanuatu might find useful. Before getting to the technical details though, I want to talk about the local context for this kind of work and I'll include a bunch of my favorite photos so it may be worth browsing through this long post even if you don't see yourself ever doing any thermoforming at home.


The kava is harvested from gardens up in the hills and carried down fresh to the nakamal where the roots are trimmed and divided into individual portions. You have to throughly wash your portion to get all traces of soil out before beginning the semi-ritualized process of hand-grinding the kava to a pulp using the special coral stone called a kwasis.

So yes, providing running water right at the nakamal seemed like a particularly apt way to celebrate the twin accomplishments of completing the nakamal and rehabbing the community water system.
Building the tapstand and piping freshwater to it would be straightforward enough. The challenge was going to be how to deal with the gallons and gallons of wastewater since the nakamal is situated just uphill from a cluster of homes. Installing a public tapstand without a really solid plan for where all the wastewater will go is a classic example of short-sightedness in development work, but nevertheless, examples abound, like this fetid, man-made bog behind the public tapstand of a nearby village, presenting both an eyesore and a public health threat.


We decided to go with my idea which was to cut the pipe into seven-foot sections. That way, although each of the pieces would have a slight “bow,” each piece could be turned slightly so the bow would run flat along the ground. To fit the pieces together we would just need to have a socket on the upstream end of each piece of pipe. And that is where thermoforming finally comes in.


Just as I'd done in Panama we heated the end of the pipe by dunking it into a can of cooking oil heated almost to a simmer over a fire. Judging when the pipe is just soft enough but not too soft is quite tricky—it's a small window—much smaller than with PVC, but I'll have more on the technique later.
You might guess how relieved I was when everything went together as planned and now, even with the tap running full blast, the drain carries the wastewater past the nearby homes and onto a bushy slope where it can run off harmlessly. The home-made joints fit together very tightly even though, unlike for PVC, there isn't any sort of glue for use with poly pipe. Normally, the only way to join pipes together is to use these special compression fittings.


Fortunately the home-made sockets are tight enough that the joints in the drain line (which is not under any pressure) don't leak at all. If you install each pipe with the socket facing upstream there's no "shoulder" for catching crud. Still, there will eventually be clogs but that's where assembling the pipe in seven-foot sections pays off again. When a clog happens (as it already has) it's easy enough to go along the line thumping the full pipe to figure out where the water is backing up. The joints on either side of the clog can then be pulled apart and snaked out with a stick of bamboo and the whole thing reassembled in a matter of minutes.

Because the pipe runs through a high-traffic area, we decided to secure the the joints to keep them from being accidentally kicked open. We did that by drilling a hole in the joint, going through the top of both pipes, and then using a short, stout nail to pin the joint together. I'll bet you're thinking we should have buried the pipe, and, we could, but, believe it or not, no one, including me, ever even suggested it.

This thick-walled, 50 mm poly pipe is plenty tough enough to be left exposed (HDPE doesn't break down in sunlight the way that PVC does), and the truth is, having a pipe running along the ground doesn't violate the rustic aesthetic of this neighborhood in the least. And very importantly, leaving the pipe exposed and accessible is probably the only realistic way to get the drain working again when the inevitable clogs occur.
The nakamal drain project worked out well and seems to check most of the boxes for sustainability, but it was something of a one-off. It only made sense because we had all that salvaged pipe that we didn't have a use for in the water supply system. But purchasing new 50 mm poly pipe for a drain line wouldn't ever make sense—it's way too expensive and it's not even all that well-suited to drain lines.
The real potential for applying thermoforming is with narrower gauge poly pipe. We've discovered that the smaller pipe is an ideal material for making a smaller capacity drain--like for a kitchen sink. But you have to know how to thermoform.

It's hard to overstate what a game-changer it is for a family to have running water right inside the kitchen. More than just a convenience, a kitchen sink with running water is a crucial element for promoting family health through improved hygiene.
In a companion post I'll describe in detail how we've been making these stylish vessel-style sinks using ferrocement. The cast-in tail piece and the drain lines are made by thermoforming 32 mm poly pipe, a size that is much cheaper if you were to purchase it new and there are random lengths of salvaged second-hand pipe here and there around the village. Even pipe that is too degraded to trust in the pressurized water supply system will work fine as a drain. The smaller pipe is also much easier to thermoform.

Since it is fairly simple to make a sockets that can be taken on and off easily but will virtually never leak, it makes sense to assemble the drain line as a series of smaller segments of pipe, some with a bend in the middle. That way you can customize the drain line to run from the bottom of the sink to a convenient spot to exit the house and then route it to where you want to dispose of the water. You can use as many smaller sections as you need.
Here are some details about the process.
Because poly pipe is somewhat flexible, it doesn't hold it's shape well enough to work as a mold when you try to push a heat-softened pipe over it. What I found does work well is a rigid mold made by filling a short length of pipe with a strong mix of sand-cement mortar.


It should require a slight twisting back and forth and a solid push to get the mold to start into the heated pipe so don't give up too quickly. Once it starts inside use the back-and-forth twisting motion as you push it to the full depth. Be careful not to twist too hard or you can crinkle up the pipe. If you can't get the mold to go inside the pipe you can reheat it and try again, but don't over-soften it. It has to be a very tight fit in order to work. If the end of the pipe gets squishy and bent out of shape you just have to cut off that section and start over. Like I said, it takes practice.
These home-made sockets combined with home-made bends to give you complete flexibility in routing the drain line. You can make a bend by carefully heating the pipe over a fire, or better over a bed of hot coals. We found that the softened pipe tends to collapse and kink when you try to bend it unless you support the pipe from the inside by filling it with sand before heating it.

Heat the pipe evenly at the bending point by holding it over the heat and steadily rolling it until you sense the right amount of flexibility. Then lay the pipe on a flat surface where you've partially driven some nails to create a jig for the desired angle of the bend. Secure one end between two nails and then slowly bend the pipe around some kind of bending post, (a plastic peanut butter jar with its lid screwed down to the table does nicely). As you bend the pipe, use your thumbs to press down on the pipe where it's bending to discourage it from kinking. When it cools down, the pipe will want to partially spring back, so you'll want to bend it past your desired angle by ten or fifteen degrees. Use another nail to hold the pipe in position and let it cool down completely before taking it off of the jig and emptying the sand.

There's no need for anything like a P-trap under the sink since a trap is only needed when a drain connects to a septic system or sewer where putrid gases would come up back up the pipe and into the house. In our context, these “greywater” drains can often be safely emptied directly into the environment. At many of the houses around here the pipe can be routed downhill a short distance to spill out in a bushy, out-of-the-way space where the wastewater will soak away harmlessly. Any significant food particles will decompose quickly once picked over by the ubiquitous chickens and such. If there's no slope to move the water away from the house, one option is to pipe the wastewater to a shallow circular basin that you dig nearby and plant a small clump of banana trees or something similar there.


As I mentioned earlier, poly pipe can't be glued together to form a pressure-tight joint, so clearly it wouldn't be advisable to try to use thermoformed sockets to join big pipes in a pressurized system like this one in our pipeline.
One exception to that rule though would be in a very low-pressure system such as a pipeline that captures water from a spring that is just barely uphill from the water users.

Some families living outside of the main village have small, informal systems like that. Often they have been scrapped together using second-hand pipe that they keep held together (barely) by pieces of bamboo or some other improvised connectors.

As a stop-gap measure, a well-made coupling made of thermoformed pipe can mean the difference between people getting water at their faucet or not.

I hesitate to say it, but if you tie these joints with a tightly wrapped strip of inner-tube rubber (a standard plumbing practice here) it probably won't leak and will likely never get replaced with a store-bought fitting.
Even in a high pressure system a thermoformed coupling might work as a temporary patch for a broken pipe and allow you to keep the system working until a fitting can be purchased. Keep in mind that to get to that hardware store over on Santo you have to either fly over there and back on the twice-weekly flights (about $90 US each way), or take the cheaper option of hitching a ride on one of the passing cargo ships that periodically ply this part of the archipelago, but making the round trip that way will literally take weeks.

Ideally of course, village water committees will maintain an inventory of the fittings needed to make permanent, professional repairs. But in the case that they haven't, the alternative for the community won't be to do without. It will be to once again look around at what they've got to work with and figure out what they can do instead, and thermoforming is another useful tool for their toolbox.
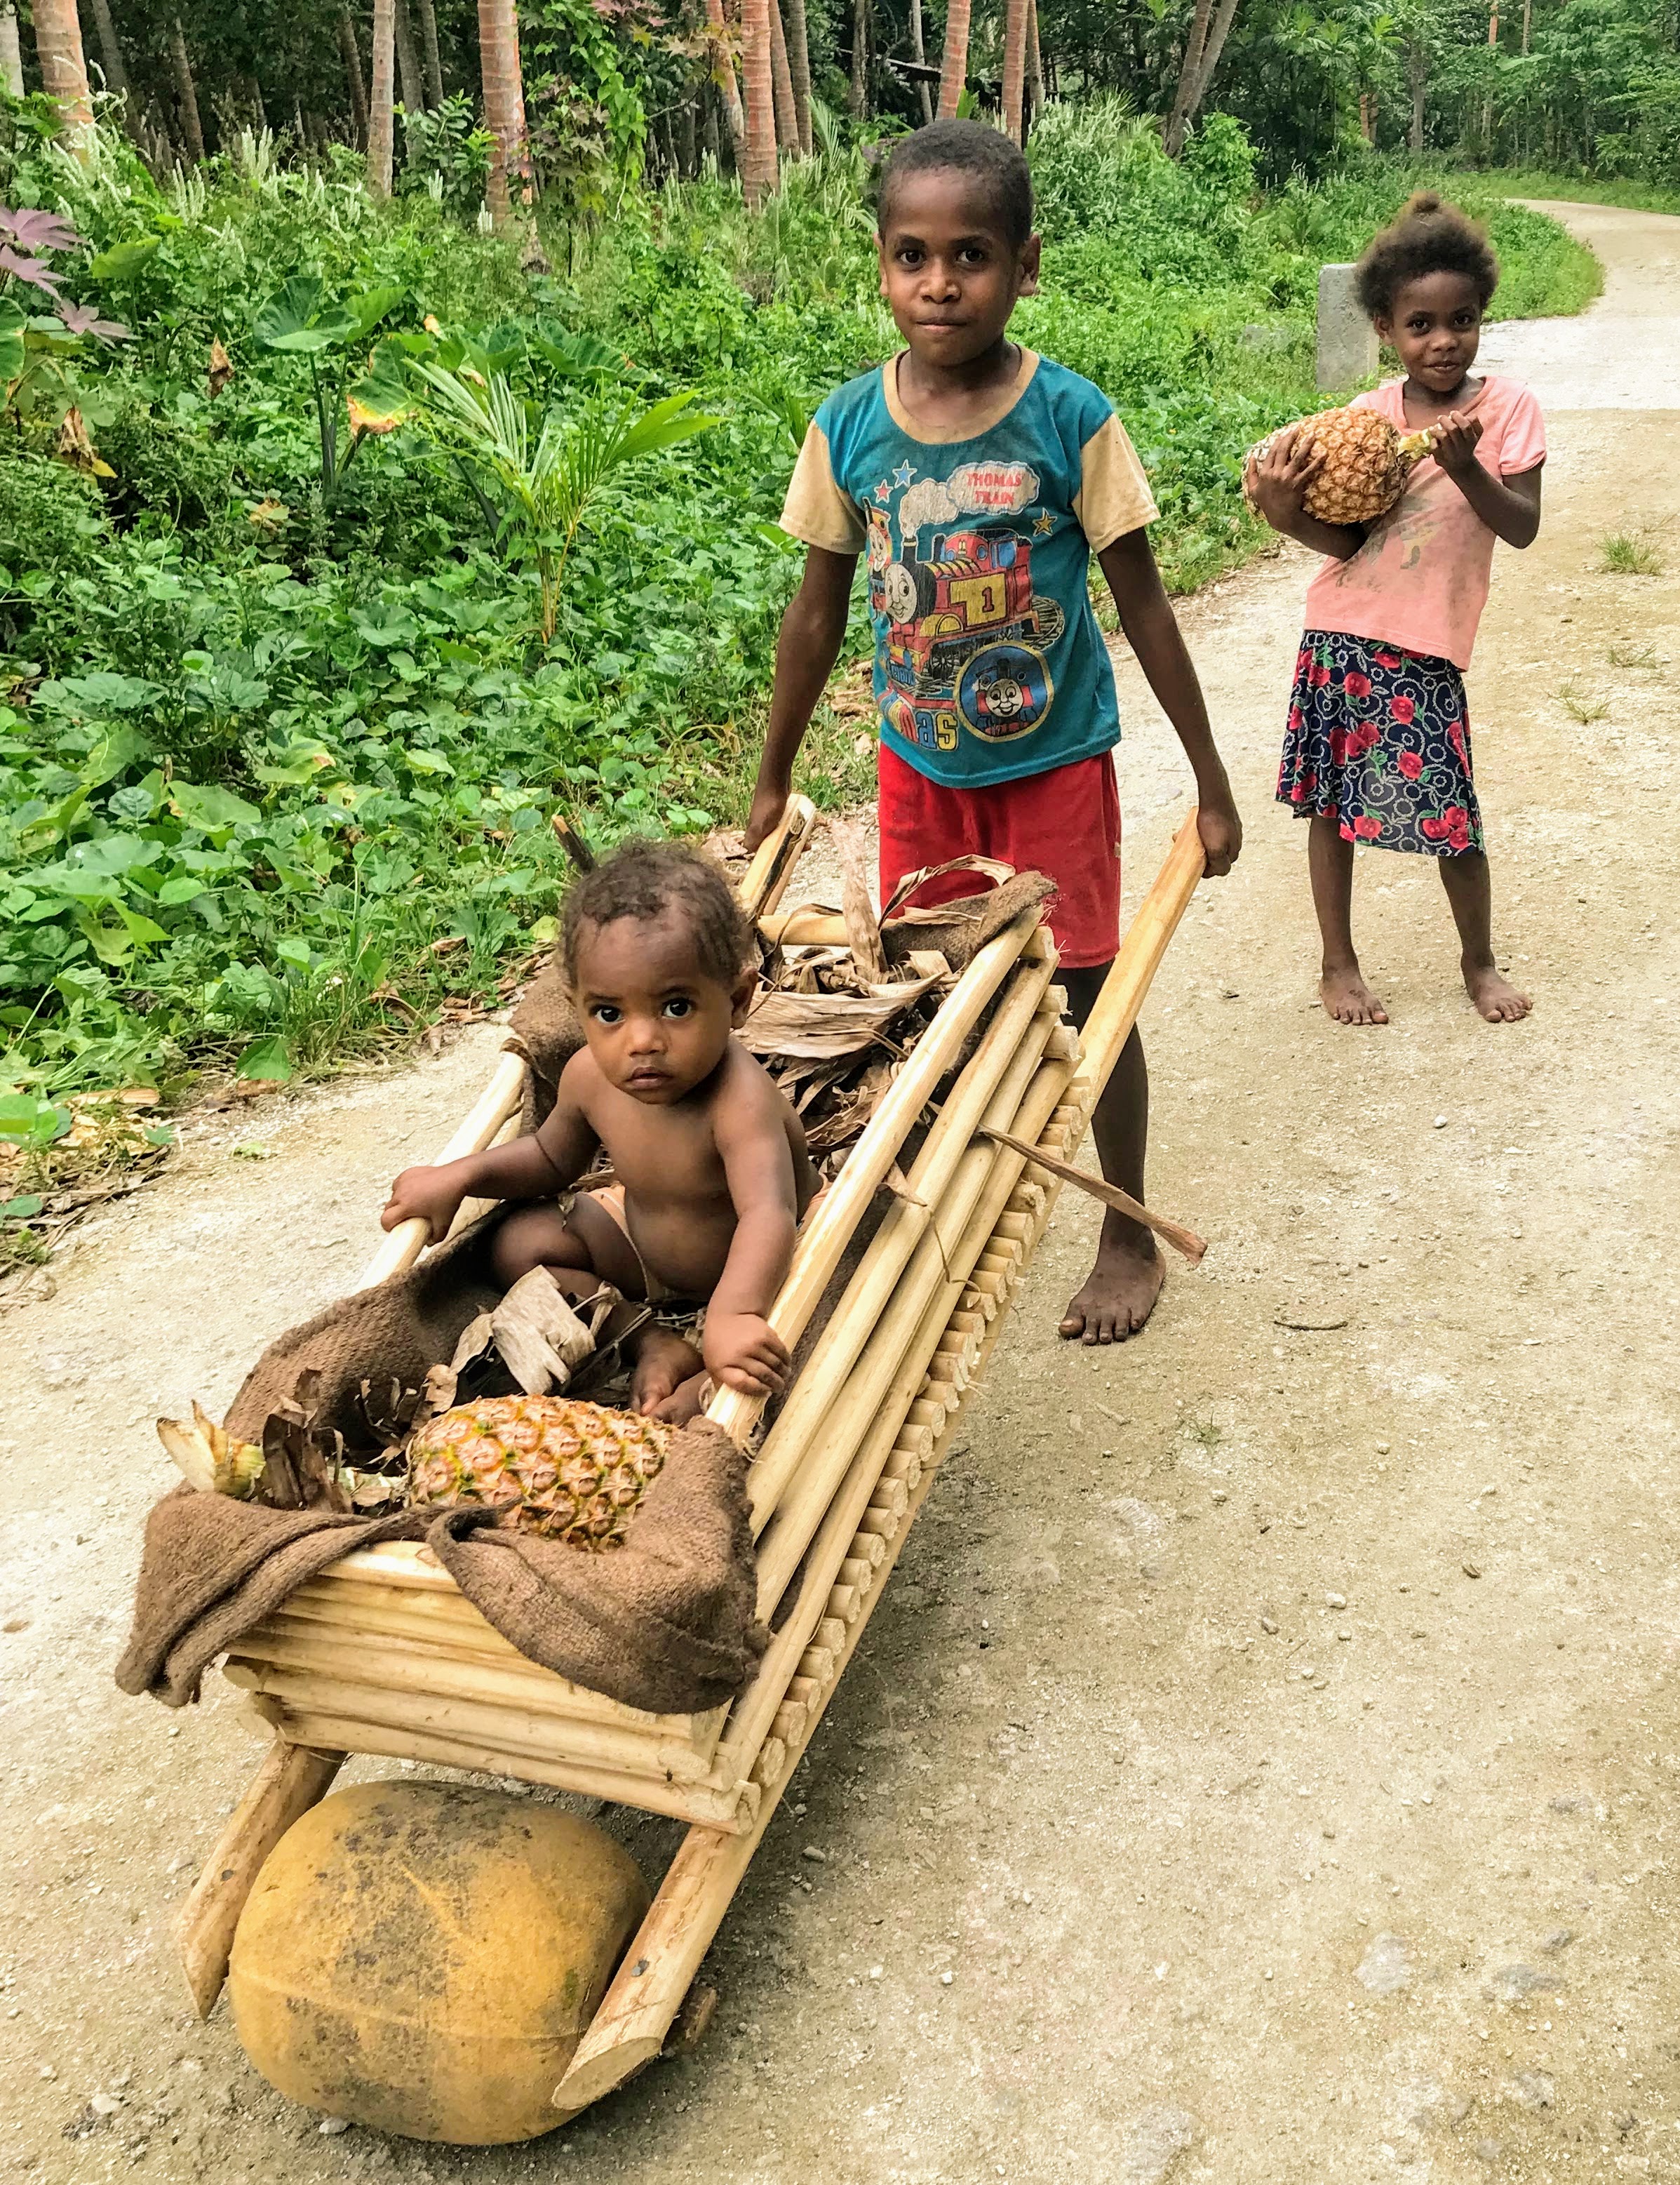
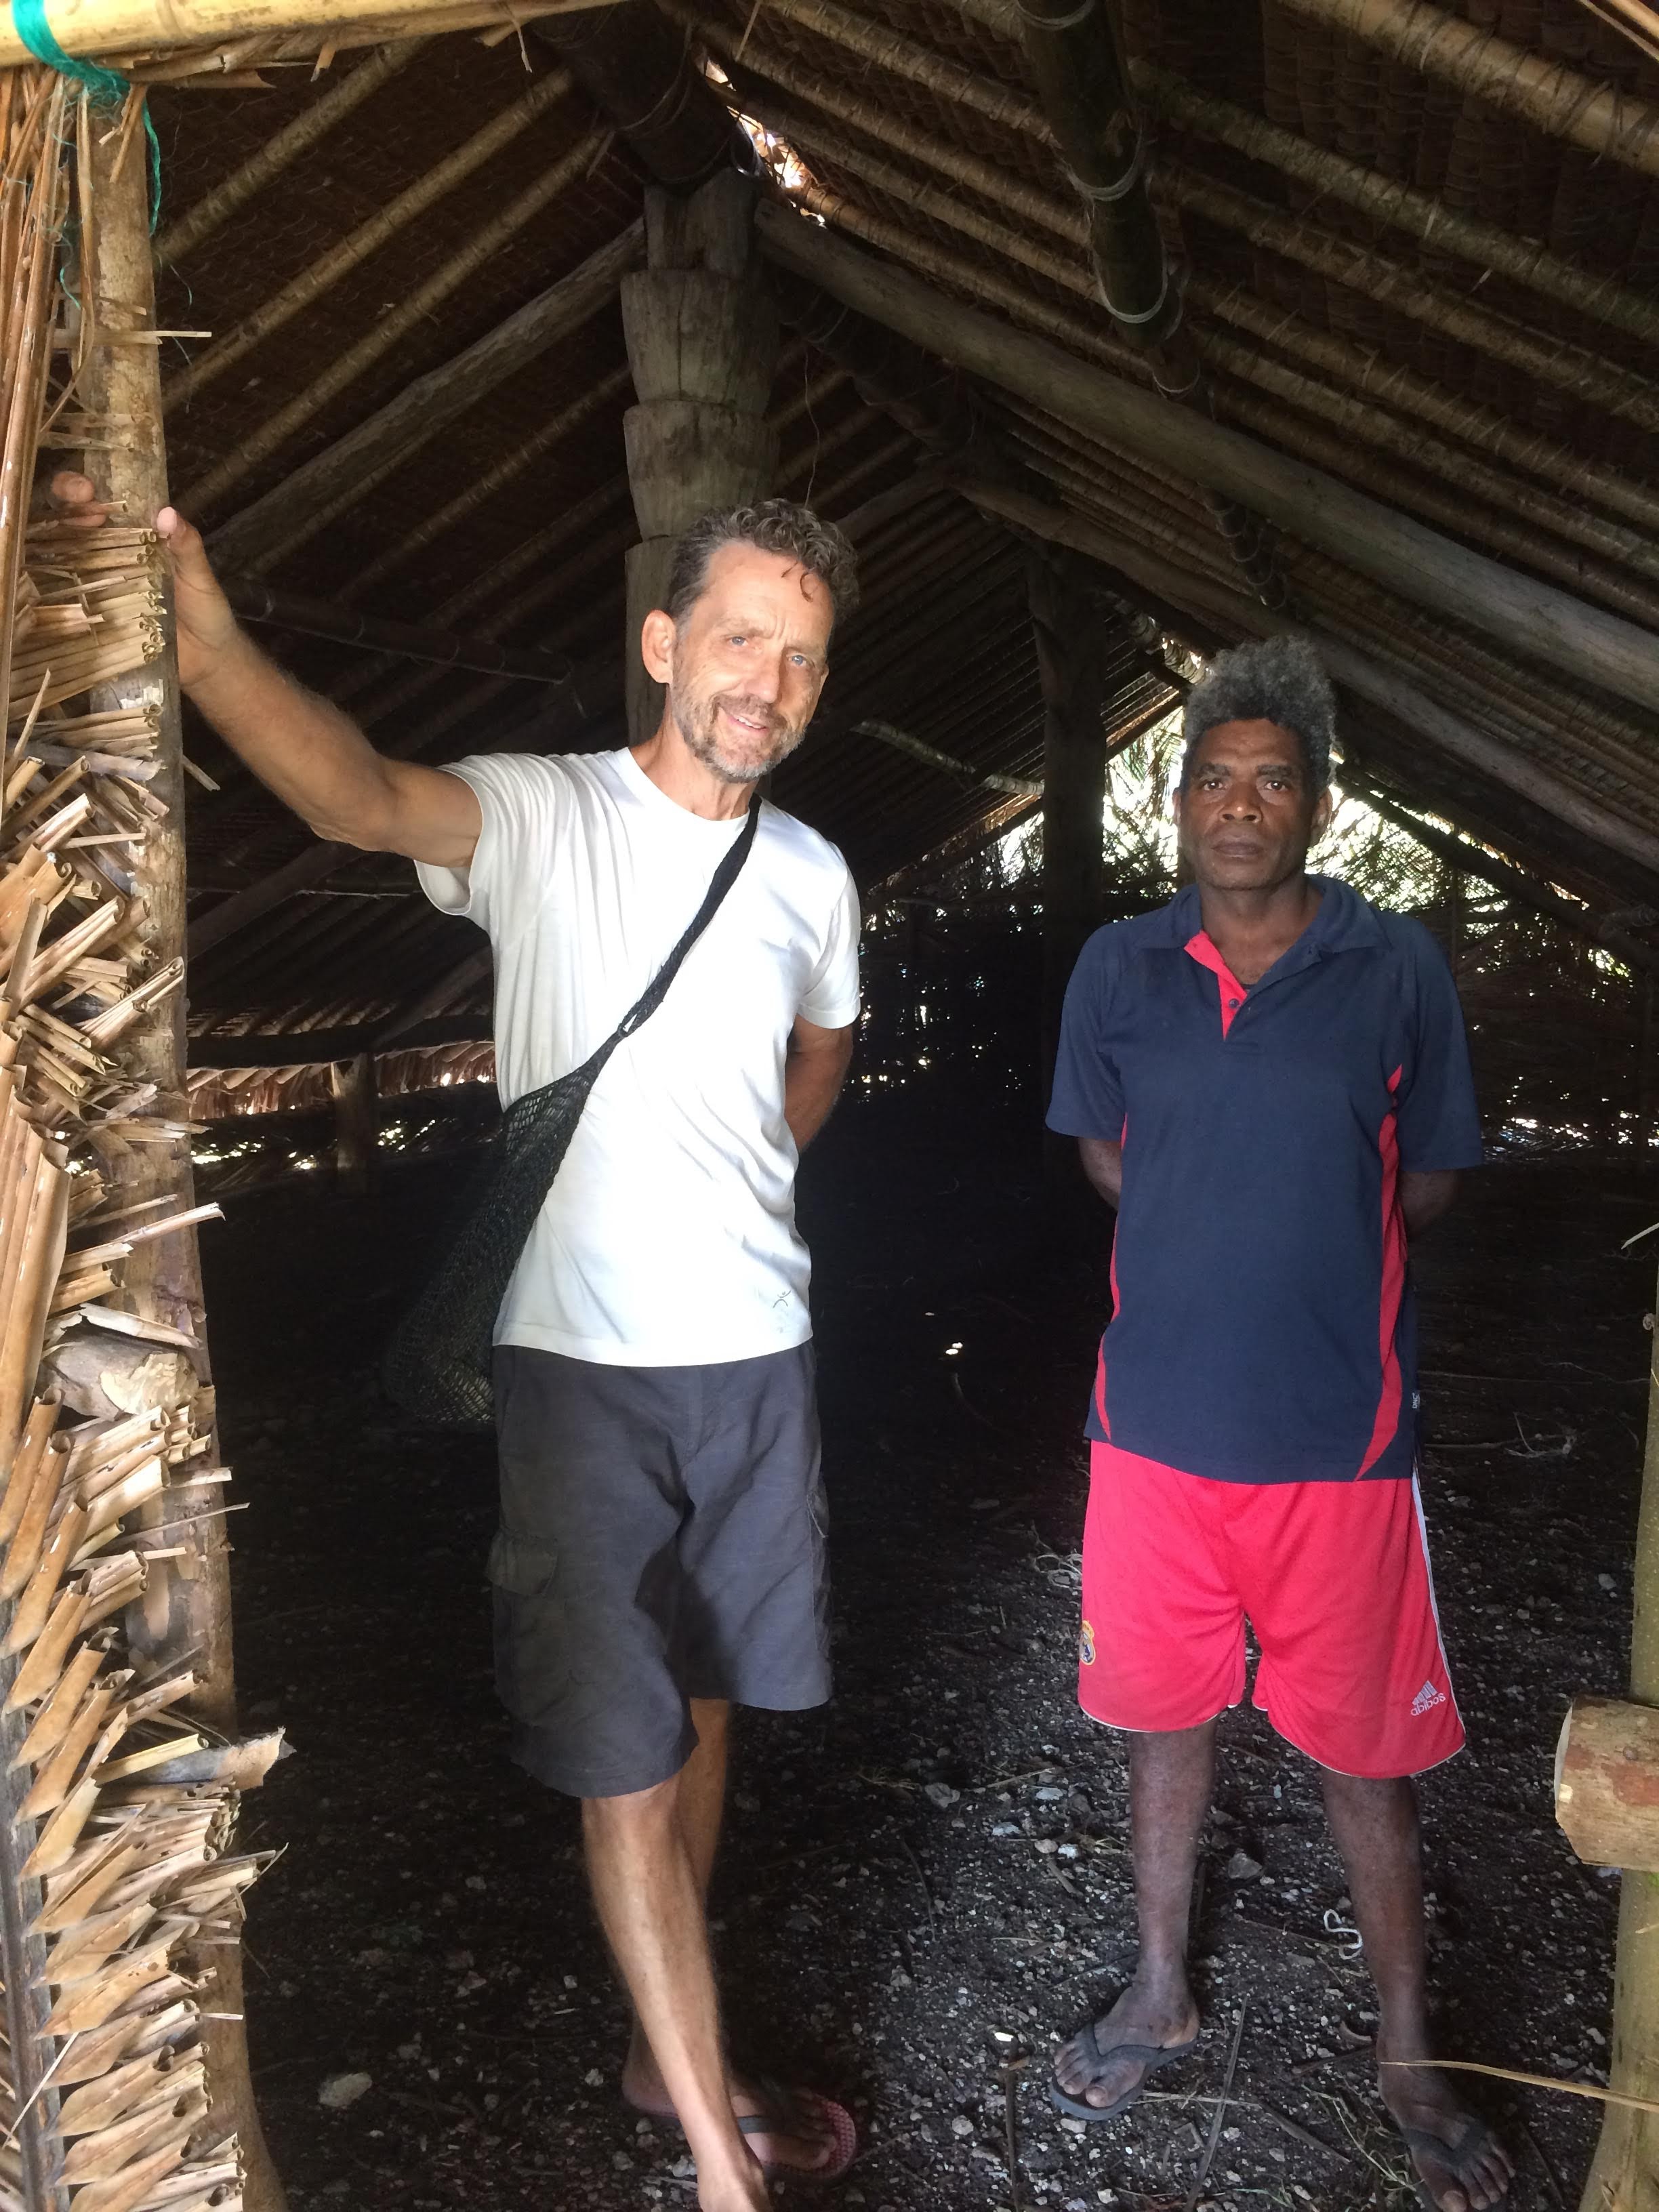
There's more about thermoforming HDPE pipe in two companion posts, but for now I'll close with two more photos and the answer to the wheelbarrow riddle I posed at the beginning.
Among the most useful "natural" resources that people on Maewo are blessed with is the assortment of junk that breaks away from commercial fishing boats and washes ashore over on "Big-Sea" side of the island.

A torn net is prized for repurposing as a hammock, and as my nephew and nieces can attest, a float from one of those nets makes the perfect wheel for a wheelbarrow.