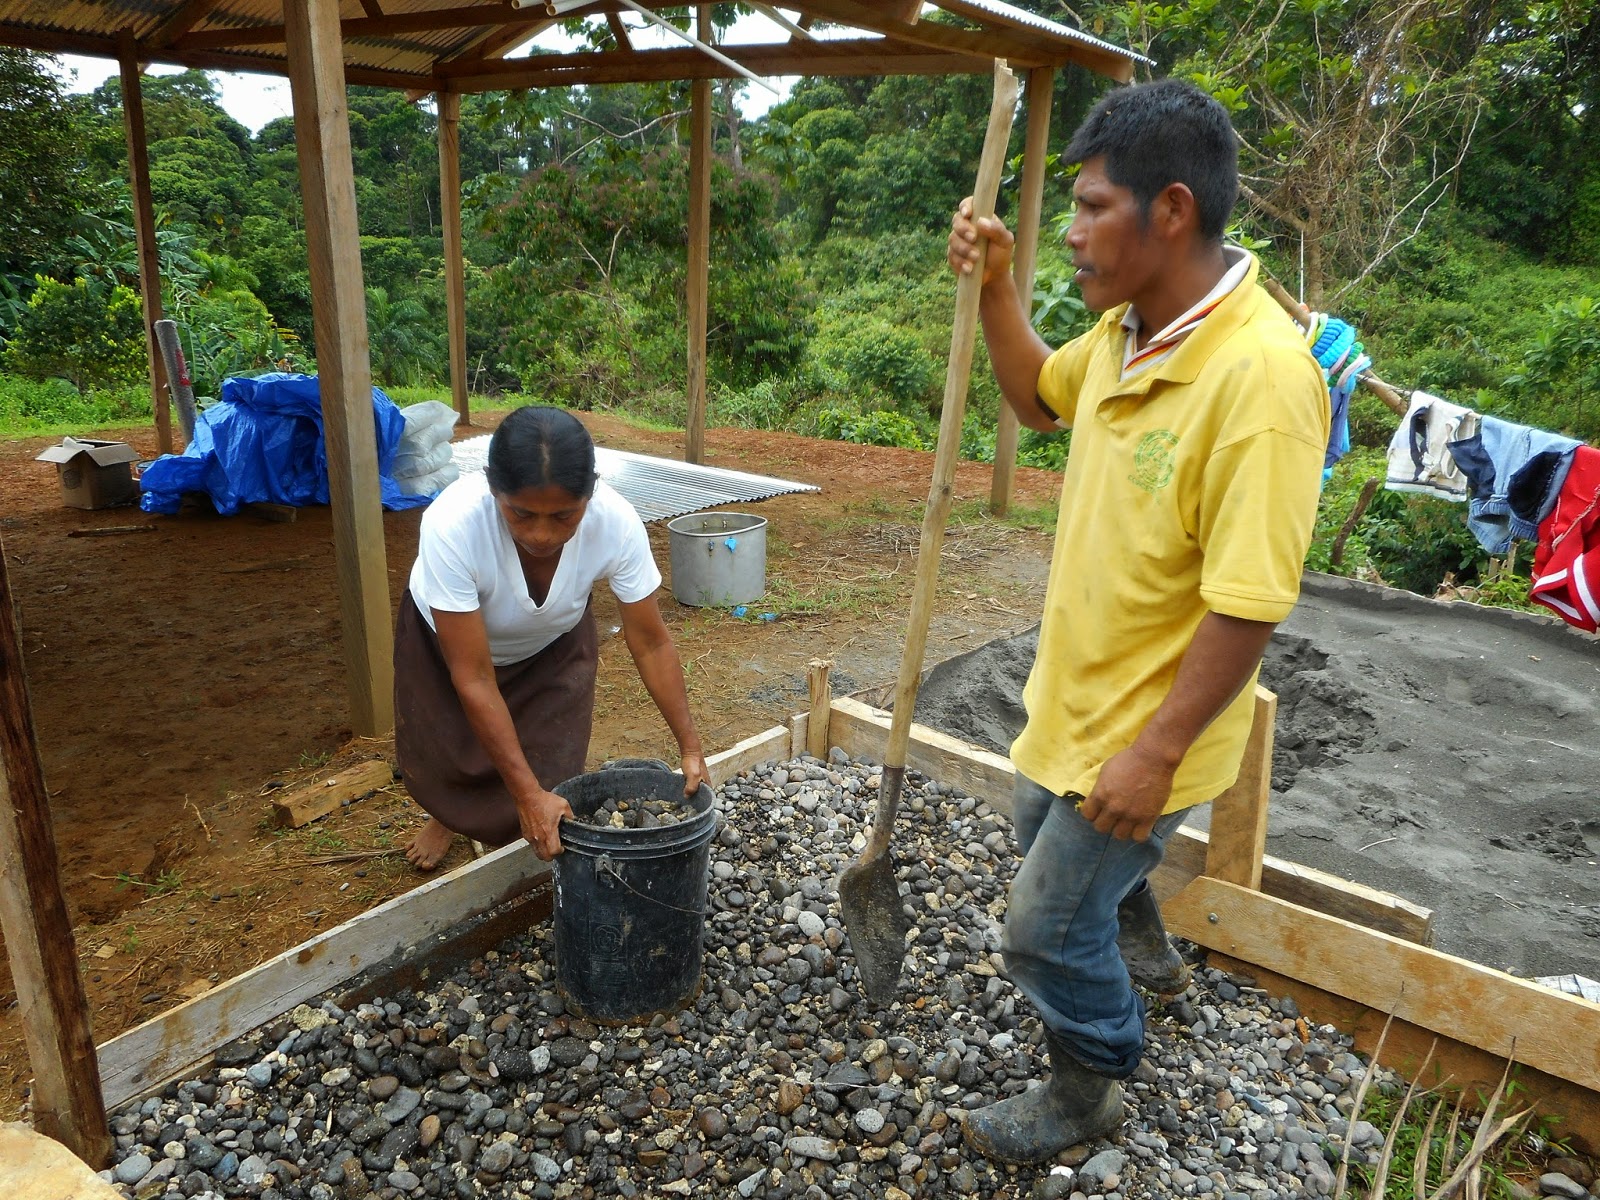
I'm back here in the indigenous homeland of
the Ngäbe people of Panama working with rural villages to improve
their access to clean water, but I've also been thinking a lot about a problem
every bit as troubling as contaminated drinking water--the
transmission of disease by dirty hands. Diseases such as diarrhea and pneumonia are
the top two killers of children under five world wide, but these
deaths are largely preventable. The most effective proven intervention? Hand
washing with soap.
We know we should wash our hands
of course and we take hand washing for granted. For us it's just a matter of remembering to do it. Sinks
with soap and running water are always around. But that's not the case in the
developing world. Often a family's household water supply is carried to the house in buckets and everyone dips into those same buckets with whatever kind of cup is handy for all their water uses: drinking,
cooking, dish cleaning, and if it should happen, hand washing. But
would you even want to encourage people to scoop water out of there to
wash their hands? Could they possibly do it without contaminating the
rest of the water?

It's easy enough to lecture people
about how they need to be washing their hands, but that doesn't help
them with how they could effectively wash their hands. In places where
there aren't sinks and running water anywhere around, that's no small problem.
One charmingly simple and potentially
effective solution is the tippy-tap. Here's a basic model.

It's quick, cheap to set up, and it
provides a hands-free, steady trickle of clean water just by stepping
on the foot pedal. I like the super-efficient use of water and the hygienic hands-free operation--features we have now incorporated into our own first world, high-tech sanitation solutions--just wave your hands under the faucet and a nice portion of water comes out.

A tippy-tap makes a fun demonstration
when you're teaching the importance of hand washing, and if you do
an image search for tippy-tap on the internet you'll see dozens of pictures of just
that sort of activity in places all over the developing world, much like this one we held at our school.

The problem with the tippy-tap is
that it all too often doesn't go any further than that--a neat demonstration that no one actually adopts and keeps using. There are plenty of
behavior change theories that come into play in that failure, but one
big obstacle with the tippy-tap is the frequent maintenance, i.e., taking it down and refilling the jug with water.

A tippy tap can work perfectly well
in a best case scenario, like a motivated peace corps volunteer. I used this one as my kitchen faucet for three years and was
completely happy with it despite the need for regular
refills. But if we're going to promote an
“appropriate technology” that will actually be adopted we have to
be realistic about both its durability and how much effort people will go to in order to use
it, especially when it is addressing a need that they may not feel
that acutely, like the need to wash your hands.
I've been thinking about this
challenge since I began my training as a water and sanitation
volunteer here in Panama. We learned about the profound health impact
hand washing can have, and we developed educational charlas on the
subject to share with rural villagers, but when it came to the
practicalities of it all I didn't seem to have that much to offer.
This failing seems especially sharp in the context of latrine
projects that don't include a workable hand washing facility.
With all of that in mind, I'm cautiously
enthusiastic about something new that we're trying out with our
latrines here. It's a hands-free sink that utilizes the rainwater
collected from the latrine roof.

We built these small ferrocement
rainwater tanks to provide water for the bidets that I've described
in some earlier posts. They're working fine, but washing your hands
over the bidet at the end of a visit to the latrine is an awkward and less than sanitary process of passing
the hose from hand to hand and really isn't satisfactory. The low roof
of the latrine means the rainwater tank is too low to have a gravity flow faucet
at normal sink height, so the solution here
is a little foot pump that can be cheaply and easily put
together in the campo with just a little bit of fairly easy to come by
hardware from town.

The bladder for the pump is just a
short piece of old motor cycle inner tube that is hose-clamped over a
2” by 1/2” PVC reduction fitting. The free end of the inner tube
gets doubled over and nailed down tightly under a strip of flattened
PVC pipe.

The system works to pump water up to
the faucet by virtue of two homemade check valves. Here's a sketch:

The first check valve is in the 1/2” line flowing down from the tank. Water flows by gravity down into the bladder but when you step on the bladder the check valve closes and won't let water flow back towards the tank. That leaves the water with nowhere to go but up through the second check valve in the vertical outlet tube until it reaches the top of the pipe, spills over and flows down and out of the faucet. The second check valve is in that vertical tube and it keeps the water that you're pumping up from falling back down into the bladder when you lift your foot. The result is a nice flow of a few ounces of water each time you step down on the bladder, with the bladder refilling from the tank when you lift your foot.
The first check valve is in the 1/2” line flowing down from the tank. Water flows by gravity down into the bladder but when you step on the bladder the check valve closes and won't let water flow back towards the tank. That leaves the water with nowhere to go but up through the second check valve in the vertical outlet tube until it reaches the top of the pipe, spills over and flows down and out of the faucet. The second check valve is in that vertical tube and it keeps the water that you're pumping up from falling back down into the bladder when you lift your foot. The result is a nice flow of a few ounces of water each time you step down on the bladder, with the bladder refilling from the tank when you lift your foot.
You might find factory made check
valves at an unusually well-stocked hardware store, but that would triple
the cost of the whole setup, and it's not that hard to make your own
with just two 3/4” by 1/2” pvc reductions.

You make the valve body by thermoforming an extra long bell on the end of a piece of 3/4” pvc pipe. Cut off about an inch and a half length of that bell and that's the valve body. With a hacksaw, cut a little section out of one of the reductions as shown in the photo above. Glue that reduction into one end of the valve body.

Trace a
circle the size of the end of the second reduction onto a scrap of inner tube and cut it out
with a pair of scissors. Trim it until it just fits inside the valve
body and slip it into place so it sits on top of the first reduction.

Now add some just a little glue to
sides of the second reduction and slide it into the valve body,
pushing it in tightly in order to sandwich the little disc of rubber tightly between the two reductions. The open section that you cut out of the
first reduction will let the disc bend up, opening the valve so water
can pass through, but the reverse flow will push the disc tightly
against the second, unmodified reduction keeping water from flowing back in the other direction..

You can test the valve by blowing on
it to make sure air only passes in one direction. (That also makes a fun
balloon inflating toy for the kids!) Mark the valve with an
arrow to indicate the flow direction and you're ready to go. The
first pair of these check valves have been in service for six months
now and are working fine with the low water pressure involved in this pump.
We made the sink itself with basic front-porch ferrocement techniques starting with a mud form to create the shape of the bowl.

A little bit of quarter inch reinforcing bar
gives it some strength along with some tie wire or chicken wire
stretched along the bowl.

Plaster the bowl with two thin layers of
sand-cement mortar (2 : 1 mix).

 The exact design of the sink will depend
on how you can figure out to mount it on the wall. In the latrine pictured above I
ended up molding a flattened piece of pvc pipe to make a kind of
gusset that holds the sink against the wall.

I mentioned being cautiously enthusiastic about this little hand washing sink because I know there are plenty of reasons why seemingly good ideas and well-intentioned initiatives end up fizzling out, I've seen a lot of that around here. But I don't have to look far to see plenty of reasons to keep trying to take some small steps in the right direction.

For the drain, make some radial cuts in the end of
scrap of pipe, heat and flare out the little ears to embed the pipe
in the bottom of the bowl.
I mentioned being cautiously enthusiastic about this little hand washing sink because I know there are plenty of reasons why seemingly good ideas and well-intentioned initiatives end up fizzling out, I've seen a lot of that around here. But I don't have to look far to see plenty of reasons to keep trying to take some small steps in the right direction.