Thursday, March 25, 2021

A New Toilet - From the Ground Up

This is the last of the series of tutorial posts from last year detailing elements of our community water and sanitation project. The post describes building a pour-flush squatting toilet.

  About an hour’s walk up into the highlands of northern Maewo there is a lushly forested region where our village’s ancestors used to live. It's only been a few generations since they moved down to settle the shoreline and establish what is now the village of Marino. I'm told that in those times, before there were regular ships carrying trade goods to these islands, people would make crockery from the red clay that's found exclusively in that area. I hiked up there with Deni, the vice-chair of our water committee, and we dug up a supply of clay and carried it down to my house—but not for making pots. Or rather, not for making pottery. 
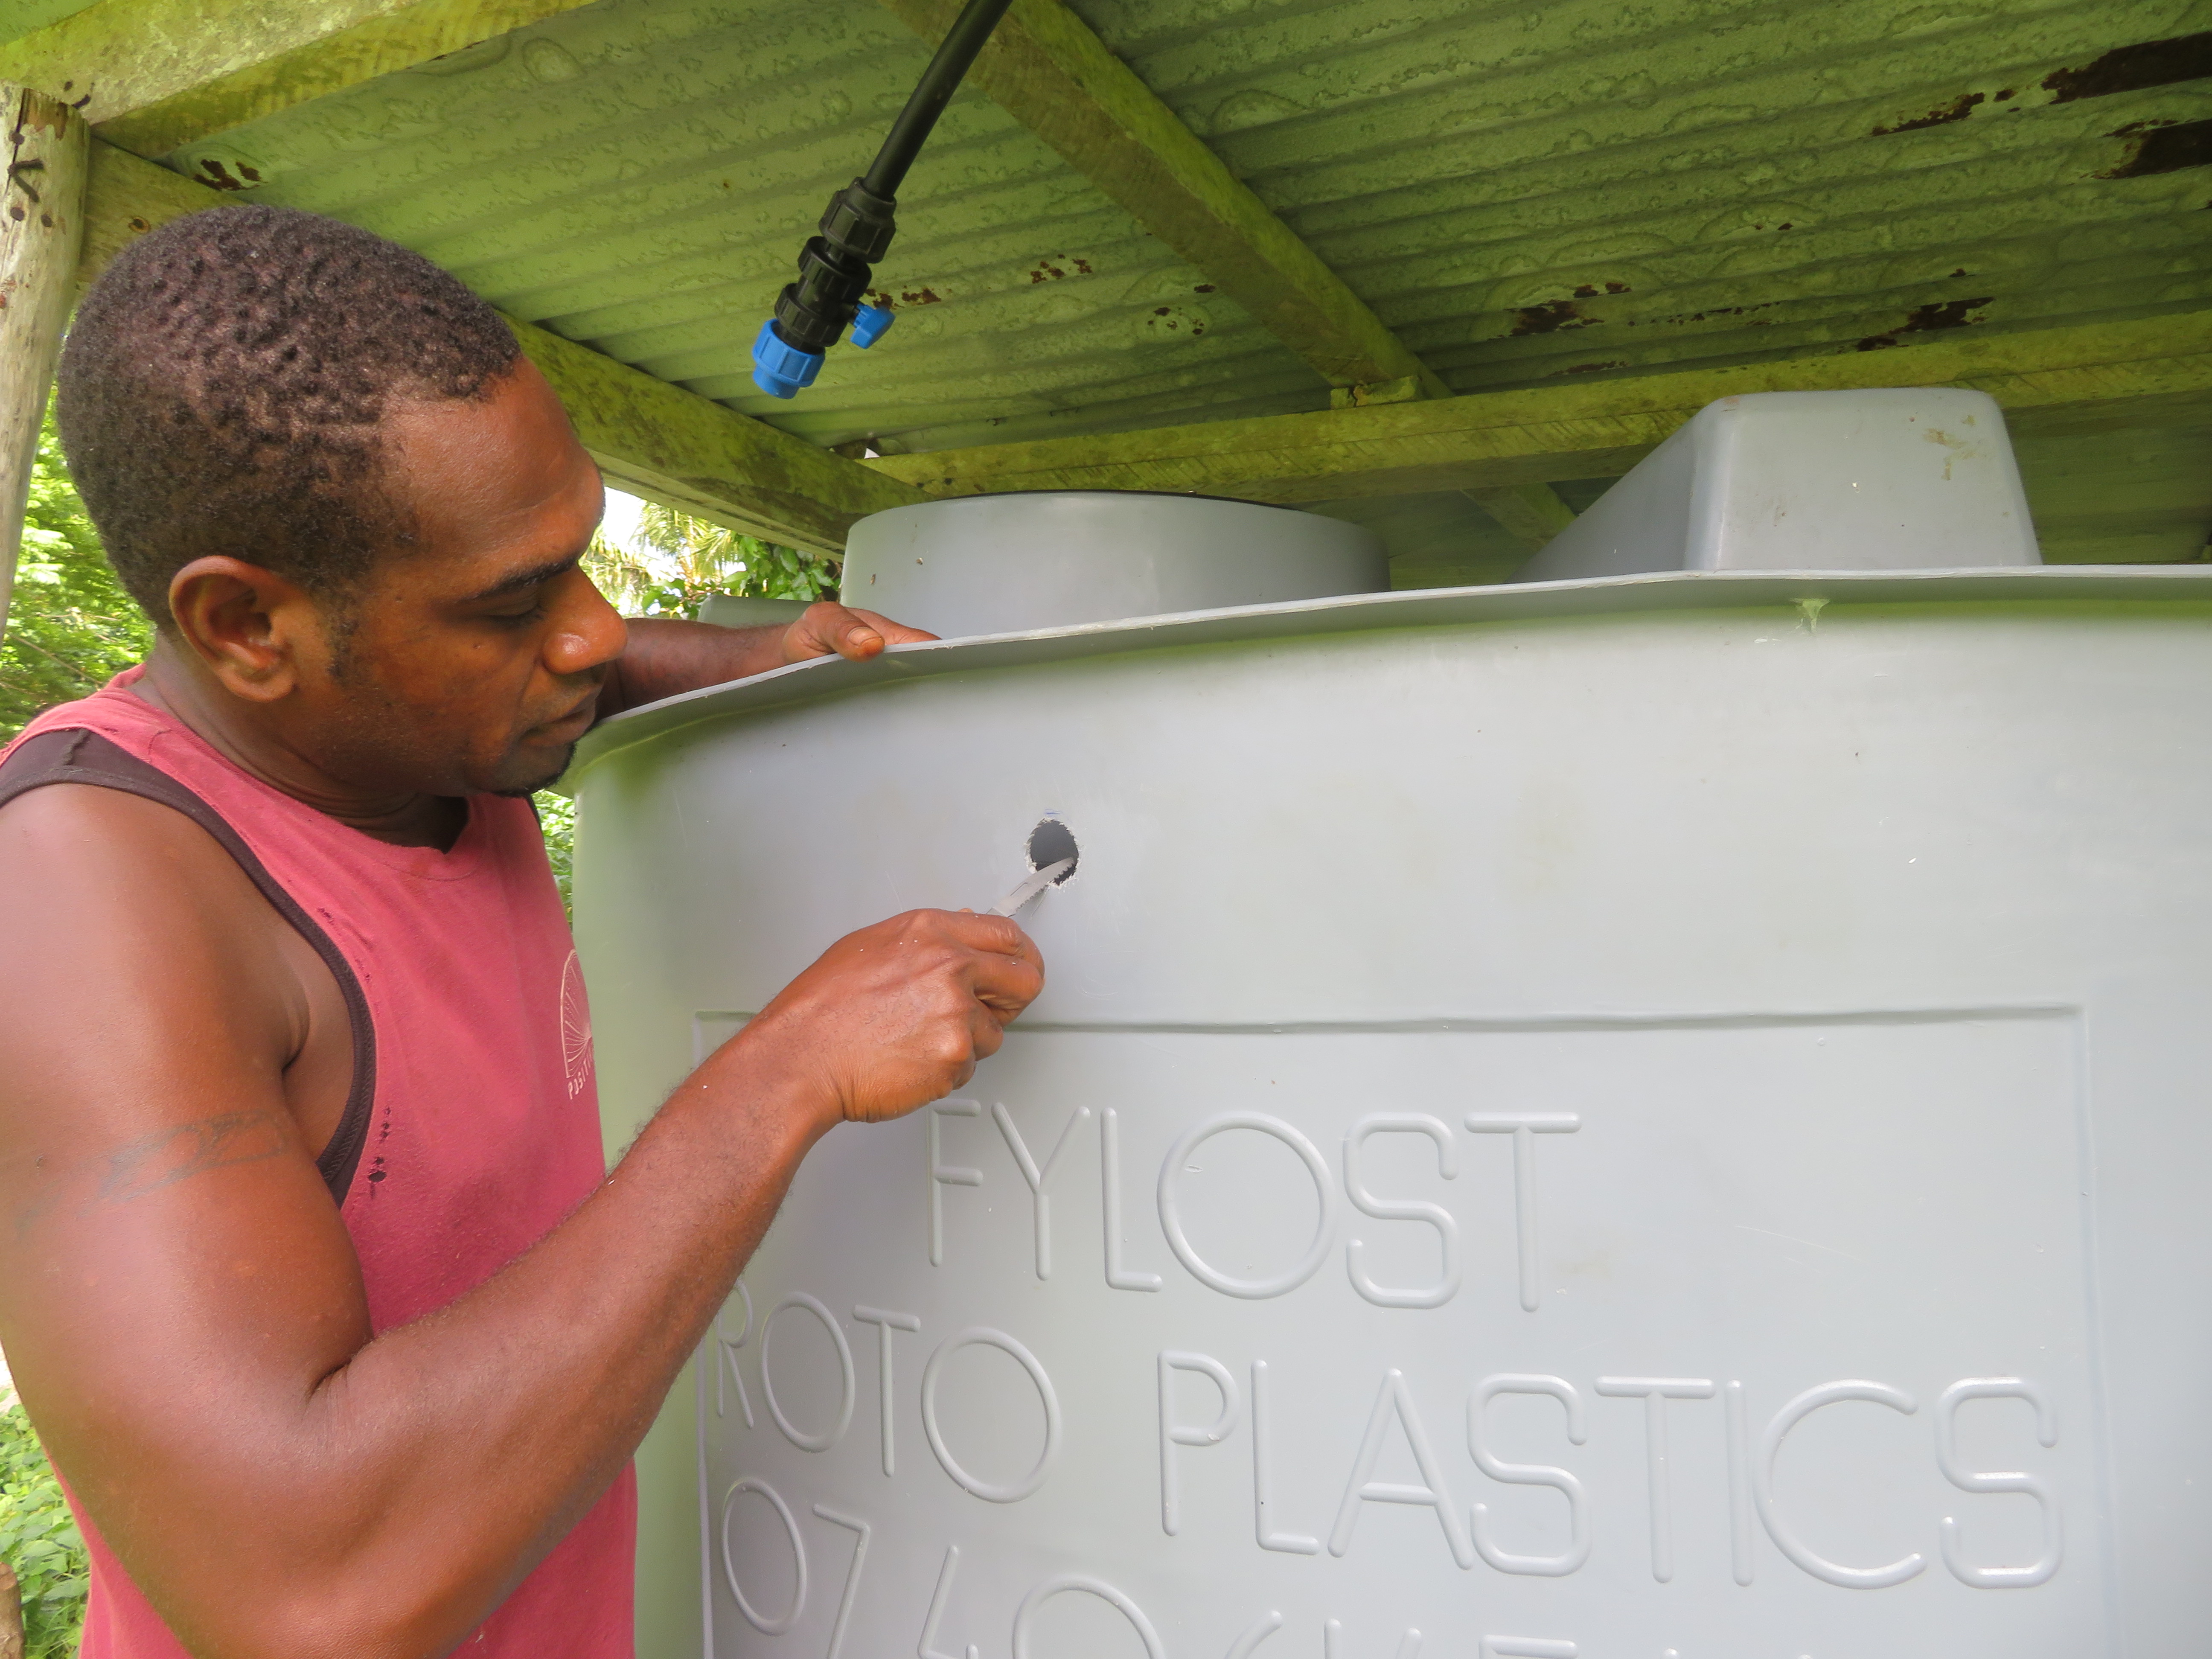
  As a water and sanitation volunteer with Peace Corps I’ve spent a lot of time in the past decade thinking about toilets. A lot of time. It may seem an odd passion, but, there it is. We don’t usually give too much thought to the infrastructure involved in our daily bathroom routine—the usual attitude is flush it and forget it. But for most people in the developing world, the relationships with our bodily byproducts is considerably more involved.

  The standard toilet facility here in rural Vanuatu is the humble “bush toilet.” In its simplest form a bush toilet is an excavation of about a meter square that's dug as deep as the rocky ground permits and then two coconut logs are stretched across the top as a platform for squatting over the hole.
To its great credit, the classic bush toilet is about as sustainable as a toilet can get. It's constructed entirely by hand using only the resources found in the surrounding forest and requires no external power or plumbing. And at the end of its useful life it is 100 percent biodegradable. Unless the owner has decided to go modern with a concrete slab.


The privacy shelter is fashioned to the owner’s liking. The nicer ones can be quite charming, in a rustic sort of way, with walls of woven bamboo and a thatched roof.

Crafting that roof from the ubiquitous Natangura palm generally involves a communal effort of friends and neighbors and is always one of the major bonding activities in a rural village.

My counterpart, Chief Philip (right) and evacuees from Ambae making roof panels
   But be they plain or fancy, bush toilets will always stink something awful and they are generally plagued by swarms of flies and cockroaches who seem to find the pits to be an ideal habitat. That's why they're always set off a ways in the bush from the owner’s home. A short step up the sanitation ladder is the widely promoted VIP toilet—Ventilated Improved Pit—which features a concrete slab and a chimney-like plastic pipe designed to promote airflow through the pit and theoretically to trap flies under a screen at the top of the pipe.
A new VIP toilet at the Ambae evacuee's camp

 When our village took in evacuees from the neighboring island of Ambae, outside aid agencies sponsored the building of several VIP toilets. They provided cement and rebar for the slabs and they shipped in a precast concrete riser for each toilet, to be topped off with a plastic toilet seat. 

  Sharp-eyed readers might have noticed that those traditional bush toilets pictured above don't include a riser to sit on. They're designed to be squatted over. That's what people are used to. I'm sure you don't need me to tell you that for the uninitiated, walking into one of these squatting toilets and assuming the position can be a challenge. But people around here can settle into a deep squat without a second thought--It's a standard posture for just posting up, or maybe relaxing with a smoke.
Deni (right) and my host brother Wilbert

Perhaps you've already guessed where this is going.

When faced with the new sit-down style toilets, the natural inclination, especially for children, was to just step up onto it and squat over the hole. That disinclination to sit down on the toilet naturally becomes a lot stronger once the seat gets soiled. And when you think about it, isn't surprising that people aren't necessarily keen to change their life-long approach to such a basic physical routine, and as a development worker, pushing that kind of behavior change is about the last thing I’m interested in doing. I'm also not too keen on promoting any more "improved" sanitation solutions that end up looking like this within a six months.
VIP toilet

  All that being said though, there are certainly valid health concerns that justify a move up the sanitation ladder from basic bush toilets. Those flies and roaches that invariably swarm the pit are seriously annoying to the user, but they can also become serious vectors for disease as they make their rounds inside the pit and then venture out to the household environs. And even from a distance away, the smell of a well-used bush toilet gets pretty intense. The most effective way to completely eliminate both problems is with a water-seal toilet. Our toilets in the U.S. are one example. That little pool of water that stays in the bottom of your toilet bowl is just the end of a gooseneck pipe that holds just enough water to block off the end of the pipe that goes down to the sewer. That's the water seal.
It's a simple and genius contraption really. Of course our water-seal toilets are just one element of an elaborate system that includes both the supply of fresh water for flushing, and the network of sewer pipe leading to a massively complicated wastewater treatment plant. But for all of the impressive and expensive infrastructure, in the final analysis, we too end up disposing of our poop in a hole in the ground in the form of the sludge that is trucked from the sewage treatment plant to the landfill. 
This relatively deep pit in sandy soil has been lined with mortared stone.
On Pele island where we lived for the ten weeks of our pre-service training, flush toilets had become very popular despite the fact that people had to carry water from hand-dug wells to flush them. My host family had this concrete toilet that was made in Vanuatu by a company in the nearby capital of Port Vila.
It's also common to go into an outhouse on Pele and find a standard porcelain toilet cemented into a slab. In either case there will be a drum of water beside it. To flush the toilet you just pour a bucket of water into the bowl to wash the contents down into a pit that is usually directly below the slab. 
  The pits essentially serve as septic tanks but they don't have a drain field like our septic systems. Instead, they're left open at the bottom so that liquids will leach off directly into the ground. In sandy, unstable soil the pits are often lined with cement block or mortared stone. 
  Another design that's been promoted around the South Pacific uses steel oil drums buried below the toilet and surrounded by stones to provide both stabilization and drainage of the effluent.
For a variety of reasons, these relatively basic pour-flush setups didn't always work right,  but despite that, people on Pele enthusiastically kept trying. It got me thinking early on that we might be able to find a design for a water-seal toilet that would work in our village setting on Maewo. Unsurprisingly, people I spoke with about it were intrigued by the idea of a completely smell-free and bug-free toilet.
Installing the slab for a VIP toilet
  But purchasing the fragile porcelain commodes, or even the cast-concrete version, and shipping them out to Maewo would be problematic from a budgetary angle. And aside from the cost considerations, there was that squatting versus sitting conundrum.

  The ideal solution seemed to be a pour-flush toilet that was actually designed for squatting rather than sitting. Such fixtures are not uncommon in Asia, but they are definitely not something to be found in Vanuatu. 
A pour-flush squatting toilet in Thailand
Coming up with a similar toilet that we could fabricate ourselves out on Maewo may have seemed like a pipe dream but a literature search suggested that maybe it wasn't that far-fetched.
From a USAID technical brief
  Unfortunately that drawing wasn't accompanied by any details about making the thing so throughout that first year I continued to puzzle over how we might fabricate such a fixture.  The tricky part was always going to be somehow incorporating the gooseneck that creates the water seal. For a long time the only thing I could think of was to use or modify some sort of pipe but I couldn't find anything that was really even close to being right.


  Fortunately there turned out to be a much simpler and more elegant solution and it turned up on YouTube. (where else?) And that finally gets me back to that hike I made with Deni to dig up clay. I had known that we could make the toilet bowl by plastering cement mortar over a mold fashioned out of clay. In Panama we'd used that technique to make the basins known as the Ngobe Bidet.
Helpers at the front porch workshop in Panama, circa 2012
  But that bathroom fixture was much simpler because it only needed to have a straight drain stub that was easy enough to make from PVC and cast into the bowl.
Leopoldo and friend

  The ingenious solution to our vexing challenge of creating the gooseneck was to use the same clay to make a tube the with the correct curve and then fit that clay tube onto the bottom of the finished bowl before plastering over everything with mortar.  Here's a photo of a finished toilet installed at the home of my nephew Moses.
This would be the view from inside the pit.
The process for casting the toilet is actually pretty straightforward and you should get a pretty good idea of how it's done from the following photos. 
1) Draw the contour of the bowl opening on the work surface.
The keyhole shape incorporates a trough for directing urine down into the bowl.

2)  Work the clay into the boot-shaped mold.
The one inch boards serve as the form for the plate that surrounds the bowl.

3)  Neatly cover the mold with wet newspaper and wipe it with cooking oil so the mortar doesn't stick.

4)  Plaster a 1/4" thick first coat of rich cement-sand mortar (1:2)
Break for lunch while the first coat sets.
5)  Rosina, my host sister on Pele Island

6)  Plaster a second coat onto the boot and fill the form to create the plate.

7)  Roll out a curved tube of clay roughly three inches in diameter.

8)  Cover with oiled newspaper and place it on the boot.

9)  Plaster all around the gooseneck with two coats of mortar

10)  Wet-cure for at least three days before removing clay.

11)  The clay should easily come out of the bowl and the trough.
12)  Getting all the clay out of the gooseneck calls for small, strong hands.

13)  A cement-water paste smeared into the surface as a sealer.

14)  Set the pan on a level platform.

15)  Test it out. About 3 liters of water gives a good flush.
16)  Make a template for the opening that you will need in the slab.

17)  Make a "blank" the exact thickness as the slab.

18)  Form, reinforce and pour the slab.
Use a second blank to create a small inspection opening.

19)  Wet cure the slab for a week before installing over the pit.
Set the squatting pan into the slab and seal the edges with a weak cement-sand mortar (1:4).

This toilet is another work-in-progress with plenty of room for refinement of the design and technique so I wouldn't presume to present a definitive manual for building one at this point, but I will add a few quick points for anyone who's thinking of trying it. 
  • So far the first of these toilets are functioning as advertised and are bug and smell-free. They are also relatively easy to clean by swabbing everything into the bowl with water and a broom dedicated exclusively to that purpose.
  • Getting the right contours where the gooseneck connects to the bowl is crucial but it's tricky. In photo #8 the clay tube is not sitting on the boot quite right. The tube should come out of the bowl at a sharp angle, making an immediate turn forward instead of coming straight out from the boot and then turning.
  • Be sure to extend the gooseneck high enough at the open end. That opening becomes the spill-point, and will determine the level of water that remains in the trap and bowl to create the water seal. In photo # 10 you can probably tell that the spill point is going to be too low. This one (the prototype) had to be augmented with additional mortar to get it right. 
  • You need to be generous with the mortar all around the gooseneck since it will be stressed as the kids dig out the clay. Aside from that there should never be much stress on the toilet and it should be plenty strong enough without any reinforcement as long as you make the opening in the slab very close to the outline of the bowl and trough.  That way the squatting plate is fully supported by the slab right up to the edge of the bowl.
  • The squatting plate shown above was narrower than the ideal, but we were constrained by the size of the work surface we had available. More attention should be given to getting things sized for comfortable foot placement.
  • To install the slab, you'll need to first make a smooth and level foundation (also known as a ring beam) made of concrete or masonry around the perimeter of the pit. The foundation has to be deep enough below grade to securely isolate the pit.
  • Use a weak mortar infill as shown above to seal the squatting plate to the slab, and also to seal the slab to the foundation. That should allow the option of moving the toilet and/or the slab when the pit is full and is ready to be decommissioned.
  • If there is ever a defect such as a crack in the mortar at the foundation, your nose will tell you immediately. 
  • Make a concrete lid to cover the inspection opening and seal it with weak mortar. The owners will be able to chip away the mortar and open it up to check the sludge level in the pit when that becomes necessary.
  • As with any pit latrine, give careful consideration to ground water situation at your location, recognizing that the plume of underground contamination from any water-flushed toilet will extend somewhat deeper and further side-ways than with a "dry" pit latrine.
  Before ending this post I want to mention that the general preference for squatting toilets is not completely unanimous in these parts. Because of a disability or just personal preference people sometimes place a simple wooden box over the hole of a bush toilet so a user can sit down. That accommodation would also be possible with this pour-flush version. We also made a prototype of a sit-down commode version of this pour-flush toilet. It also looks promising though it's considerably more complicated to build. 

Uncle Francis making the bowl section for his family's pour-flush commode


Sunday, March 7, 2021

A Quick Shower


Yours truly as a recently arrived Peace Corps Trainee

This is another in series of tutorial posts from last year about a community health project aimed at improved household water access. 

Going to live on a tropical island is a classic daydream for many of us in the global North, and far be it from me to throw cold water on anyone's dreams. The reality of relocating to the Torrid Zone is bound to feature some unforeseen elements for any new arrival, but I feel confident predicting one universal reaction: a heightened appreciation for showers. They won't necessarily be hot showers but that'll be fine.

Because, you know, it's gonna be hot. And even if your daydreams have you in full-retirement mode, you won't be spending all of your time in the shade sipping delicious beverages from a coconut.

My nephew Moses

Eventually there'll be things that have to be done during the heat of the day, and as we folks of the north like to say, when you're hot there's only so much clothing you can take off.

Moses practicing his bush knife skills* (see footnote below)

A shower can quickly go from being a semi-optional chore to an absolute highlight of your day.

Most people on Vanuatu's outer islands don't have a bathroom with running water. What they typically have is a little freestanding shelter that's called the "bathroom," not to be confused with their "toilet," which is a shallow pit latrine that's always located further away from the house for the easily guessed reason.  To take a bath, you have to bring water to the bathroom in a bucket and then use a dipper of some sort to dump water on yourself. It's not the easiest way to bathe, but once you get good at it, and when you really need it, a bucket bath can be gloriously satisfying. And if you're carrying your own buckets, you'll probably learn to be fairly efficient with the water.

Sister Brasila and more of the family


I'll resist the temptation to expound on best practices in bucket bathing, but that actually is a worthy topic on many of Vanuatu's islands where the only fresh water available is stored rainwater. But the island of Maewo is blessed with abundant groundwater and our village has a gravity-flow water system that, when it's operating optimally, carries ample amounts of water from a constantly renewing source, the nearby Naogugura Spring. That has really changed the bathing equation for us as it would for anyone with the same good fortune to connect their home to a reliable piped water system. In this post I'm going to share one option for delivering that running water: showers that can be fabricated in site. The showers, along with the kitchen sinks described in an earlier post, are part of the local water committee's efforts to promote community health through better access to water in the home. 

New friends playing football at the evacuees' camp.

When our village took in refugees from the volcanic eruptions on our neighboring island of Ambae, one of the things the government's disaster response team did was to set up a pair of public showers at the evacuee encampment in the center of town. They poured concrete slabs and used galvanized iron pipe and fittings with standard chrome shower heads. Because our water system was barely functioning at the time, water only reached the showers intermittently, but they still became the envy of bucket-bathers around the village, naturally leading to the question, "Can my family get one of those?" It seemed like the answer should be at least a definite "Maybe" but even that was assuming we would actually get the water running the way we were hoping to.

New friends chilling on the sidelines
Fast-forward a year and we were completing the pipeline upgrades that I described in this earlier post,  and there actually was plenty of water reaching all parts of the village. At the the very end of the pipeline we re-plumbed another tank to serve as a reservoir and ran new pipes to the Health Dispensary to ensure that it would always have running water available.
Marino's water committee chairman, Brevo

That tank also supplies water to several other houses near the Dispensary, including a new line down to a tap at my own house, and it was greatly appreciated.
A float valve turns the water off when the reservoir is full.

At that point we were considering the options for piping water directly to more people's homes, including into the bathroom. But the search for materials at the hardware stores back in the capital was discouraging.  Assembling showers like those the disaster team had brought out was going to be expensive. 

Things are expensive in Vanuatu:  US$ 31.

The cost of the galvanized iron pipe (with cutting and threading) and all the fittings and fixtures would run eighty-five US dollars for each shower. At that price the project funds could maybe stretch to include a shower or two as a sort of demonstration project, but any plan for extending that to more households in the future would have to rely on more infusions of outside money.

Long story short though, we developed an affordable alternative and it might be my favorite piece of appropriate technology yet.  Instead of using the very expensive galvanized iron pipe, the shower is made from the common HDPE poly pipe that we already had on hand. And instead of using the overpriced shower head pictured above, we can fabricate shower heads in site using the same inexpensive poly pipe.

I set up a prototype up at my house so that everyone who came by could check it out. Have a look yourself.

As you can see, it's a very simple arrangement, but the shower actually works great. And the simple design is completely in line with the simple bathing shelters that are standard in the village. The cost of the whole thing is less than US$10 per shower.

Everything is made using the thermoforming techniques that I described in this earlier post. The spray head section is made by fusing closed the end of a pipe and then bending it into a loop. Tiny holes drilled in the pipe establish the spray pattern. 

The riser and shower head combination is fabricated using the same 20 mm poly pipe that we are using for the small branch lines that run to individual homes.  That makes it very simple to run a branch line right up to the brass valve, which is the only other purchased hardware required.

Fabricating the shower head is fairly easy. 

Start with a one meter-long-piece of 20 mm poly pipe. Fuse one end closed by holding the last inch of pipe over a fire until it gets very soft, then sandwich that end between two boards and stand on the top board, squeezing the end closed until the pipe cools completely.

Drill a hole in the flattened end large enough for a nail to fit through, so you can secure the end while you bend the pipe into a loop. 
You need something to act as a post to bend the pipe around. A plastic peanut butter jar does a good job. Screw the lid down to your work surface and then screw the jar onto the lid.

Fill the pipe almost full with sand, leaving just enough room to plug the open end with a stick or something similar to keep the sand from coming back out. The sand will help you avoid kinking the pipe.

Mark the pipe at 35 cm from the fused end and then evenly heat that whole section by steadily rolling the pipe between your hands as you move it over a bed of hot coals. Once you feel that the pipe has become quite flexible move it to your bending jig.

The pipe will be too hot to touch so using leather gloves is ideal, but you can use rags if you don't have gloves. 

Secure the end over a nail and then very slowly bend the pipe by pushing the pipe very firmly straight in against the jar, inching your way around rather than pulling it around by the free end.

When the pipe gets all the way around, drive another nail in the work surface to keep the loop from springing open.  Leave it on the jig until the pipe has completely cooled down.

To keep the loop from ever opening, run a piece of wire through the hole in the fused end and tie it to the pipe. Copper electrical wire won't rust and is ideal for this. 

Mark and heat the pipe twice more to make the pair of 45 degree bends in the riser using the same technique. Use nails to hold the pipe in place until it cools, but this time, the pipe will be free to spring back slightly once you release it from the jig. To compensate for that you have to make the initial bends bends tighter, like around 60 degrees.

Empty out the sand and thermoform a socket onto the open end of the pipe. (See this post for how to make sockets.)

Drill a hole about every half inch all along the underside of the loop. A bit of 3/32 inch or about 2 mm works well. If you don't have a drill available you should be able to make the holes with a tiny nail.

Use an additional short length of pipe to connect the riser/shower head to a brass ball valve. You can vary the length of that second pipe depending on how high you want the valve to be.  A good thermoformed socket should be tight enough to connect the two poly pipes together since the joint will only be under light pressure, and that will only be when the shower is in use.
In the photo above you can see that we have threaded the socket directly onto the 1/2 inch nipple that sticks out of the top of the brass valve. A thermoformed socket just happens to fit and it doesn't leak since, again it's never under much pressure. 

On the bottom side of the valve however, where the supply line comes in, the joint has to hold full pressure whenever the water is turned off, so you'll definitely have to use one of these adaptors that threads onto the valve nipple. The blue end is the compression fitting that connects to the poly pipe supply line.

These adaptors are relatively cheap (if you know where to look) and you might want to use one of these on the top side of the valve too if you don't trust the way your thermoformed socket threads onto the nipple. But that's it. You won't need any other hardware. The 20 mm supply pipe is flexible enough for you to bury it right up to the edge of the bathroom so that it comes up on the inside and makes a sweeping 90 degree bend and runs directly up to the valve. 

That's all there is to it. As you can see in the video, the assembly can be attached to the bathroom wall in any manner that's convenient. The components of the shower are very durable and although my setup may look slapdash, this is one of those contexts where slapdash works just fine. 

And speaking of context, there's no need for any drain piping in these simple bathrooms. A small concrete slab to stand on nice, but optional, and a surrounding bed of coral (or gravel) is all that's needed for the runoff to dissipate harmlessly into the ground.

So there you have it. File this one away, because who knows, maybe someday you'll be throwing the cold water yourself and living the dream on a tropical island of your own.


*Footnote: It occurred to me that you might have thought I was joking with that photo caption of Moses practicing his knife skills. Far from it. That's actually how it's done here. I've been watching Moses use knives from literally before he learned to walk, and within a couple of years he'll be swinging one with a precocious finesse and frightening force that will amaze you (if you can bring yourself to look). Check out his cousins in their impromptu workshop. They were fashioning the axles for their sweet home-made wheelbarrows. Notice the aim of my little brother Eli when he finally finds the  stick he wants. 
(And definitely don't try this at home kids.)

Andi, Ali, Moses & Eli