 |
| Yours truly as a recently arrived Peace Corps Trainee |
This is another in series of tutorial posts from last year about a community health project aimed at improved household water access.
Going to live on a tropical island is a classic daydream for many of us in the global North, and far be it from me to throw cold water on anyone's dreams. The reality of relocating to the Torrid Zone is bound to feature some unforeseen elements for any new arrival, but I feel confident predicting one universal reaction: a heightened appreciation for showers. They won't necessarily be hot showers but that'll be fine.
Because, you know, it's gonna be hot. And even if your daydreams have you in full-retirement mode, you won't be spending all of your time in the shade sipping delicious beverages from a coconut.
 |
| My nephew Moses |
Eventually there'll be things that have to be done during the heat of the day, and as we folks of the north like to say, when you're hot there's only so much clothing you can take off.
 |
| Moses practicing his bush knife skills* (see footnote below) |
A shower can quickly go from being a semi-optional chore to an absolute highlight of your day.
Most people on Vanuatu's outer islands don't have a bathroom with running water. What they typically have is a little freestanding shelter that's called the "bathroom," not to be confused with their "toilet," which is a shallow pit latrine that's always located further away from the house for the easily guessed reason. To take a bath, you have to bring water to the bathroom in a bucket and then use a dipper of some sort to dump water on yourself. It's not the easiest way to bathe, but once you get good at it, and when you really need it, a bucket bath can be gloriously satisfying. And if you're carrying your own buckets, you'll probably learn to be fairly efficient with the water.
 |
| Sister Brasila and more of the family |
I'll resist the temptation to expound on best practices in bucket bathing, but that actually is a worthy topic on many of Vanuatu's islands where the only fresh water available is stored rainwater. But the island of Maewo is blessed with abundant groundwater and our village has a gravity-flow water system that, when it's operating optimally, carries ample amounts of water from a constantly renewing source, the nearby Naogugura Spring. That has really changed the bathing equation for us as it would for anyone with the same good fortune to connect their home to a reliable piped water system. In this post I'm going to share one option for delivering that running water: showers that can be fabricated in site. The showers, along with the kitchen sinks described in an earlier post, are part of the local water committee's efforts to promote community health through better access to water in the home.
 |
| New friends playing football at the evacuees' camp. |
When our village took in refugees from the volcanic eruptions on our neighboring island of Ambae, one of the things the government's disaster response team did was to set up a pair of public showers at the evacuee encampment in the center of town. They poured concrete slabs and used galvanized iron pipe and fittings with standard chrome shower heads. Because our water system was barely functioning at the time, water only reached the showers intermittently, but they still became the envy of bucket-bathers around the village, naturally leading to the question, "Can my family get one of those?" It seemed like the answer should be at least a definite "Maybe" but even that was assuming we would actually get the water running the way we were hoping to.
 |
| New friends chilling on the sidelines |
 |
| Marino's water committee chairman, Brevo |
 |
| A float valve turns the water off when the reservoir is full. |
At that point we were considering the options for piping water directly to more people's homes, including into the bathroom. But the search for materials at the hardware stores back in the capital was discouraging. Assembling showers like those the disaster team had brought out was going to be expensive.
 |
| Things are expensive in Vanuatu: US$ 31. |
The cost of the galvanized iron pipe (with cutting and threading) and all the fittings and fixtures would run eighty-five US dollars for each shower. At that price the project funds could maybe stretch to include a shower or two as a sort of demonstration project, but any plan for extending that to more households in the future would have to rely on more infusions of outside money.
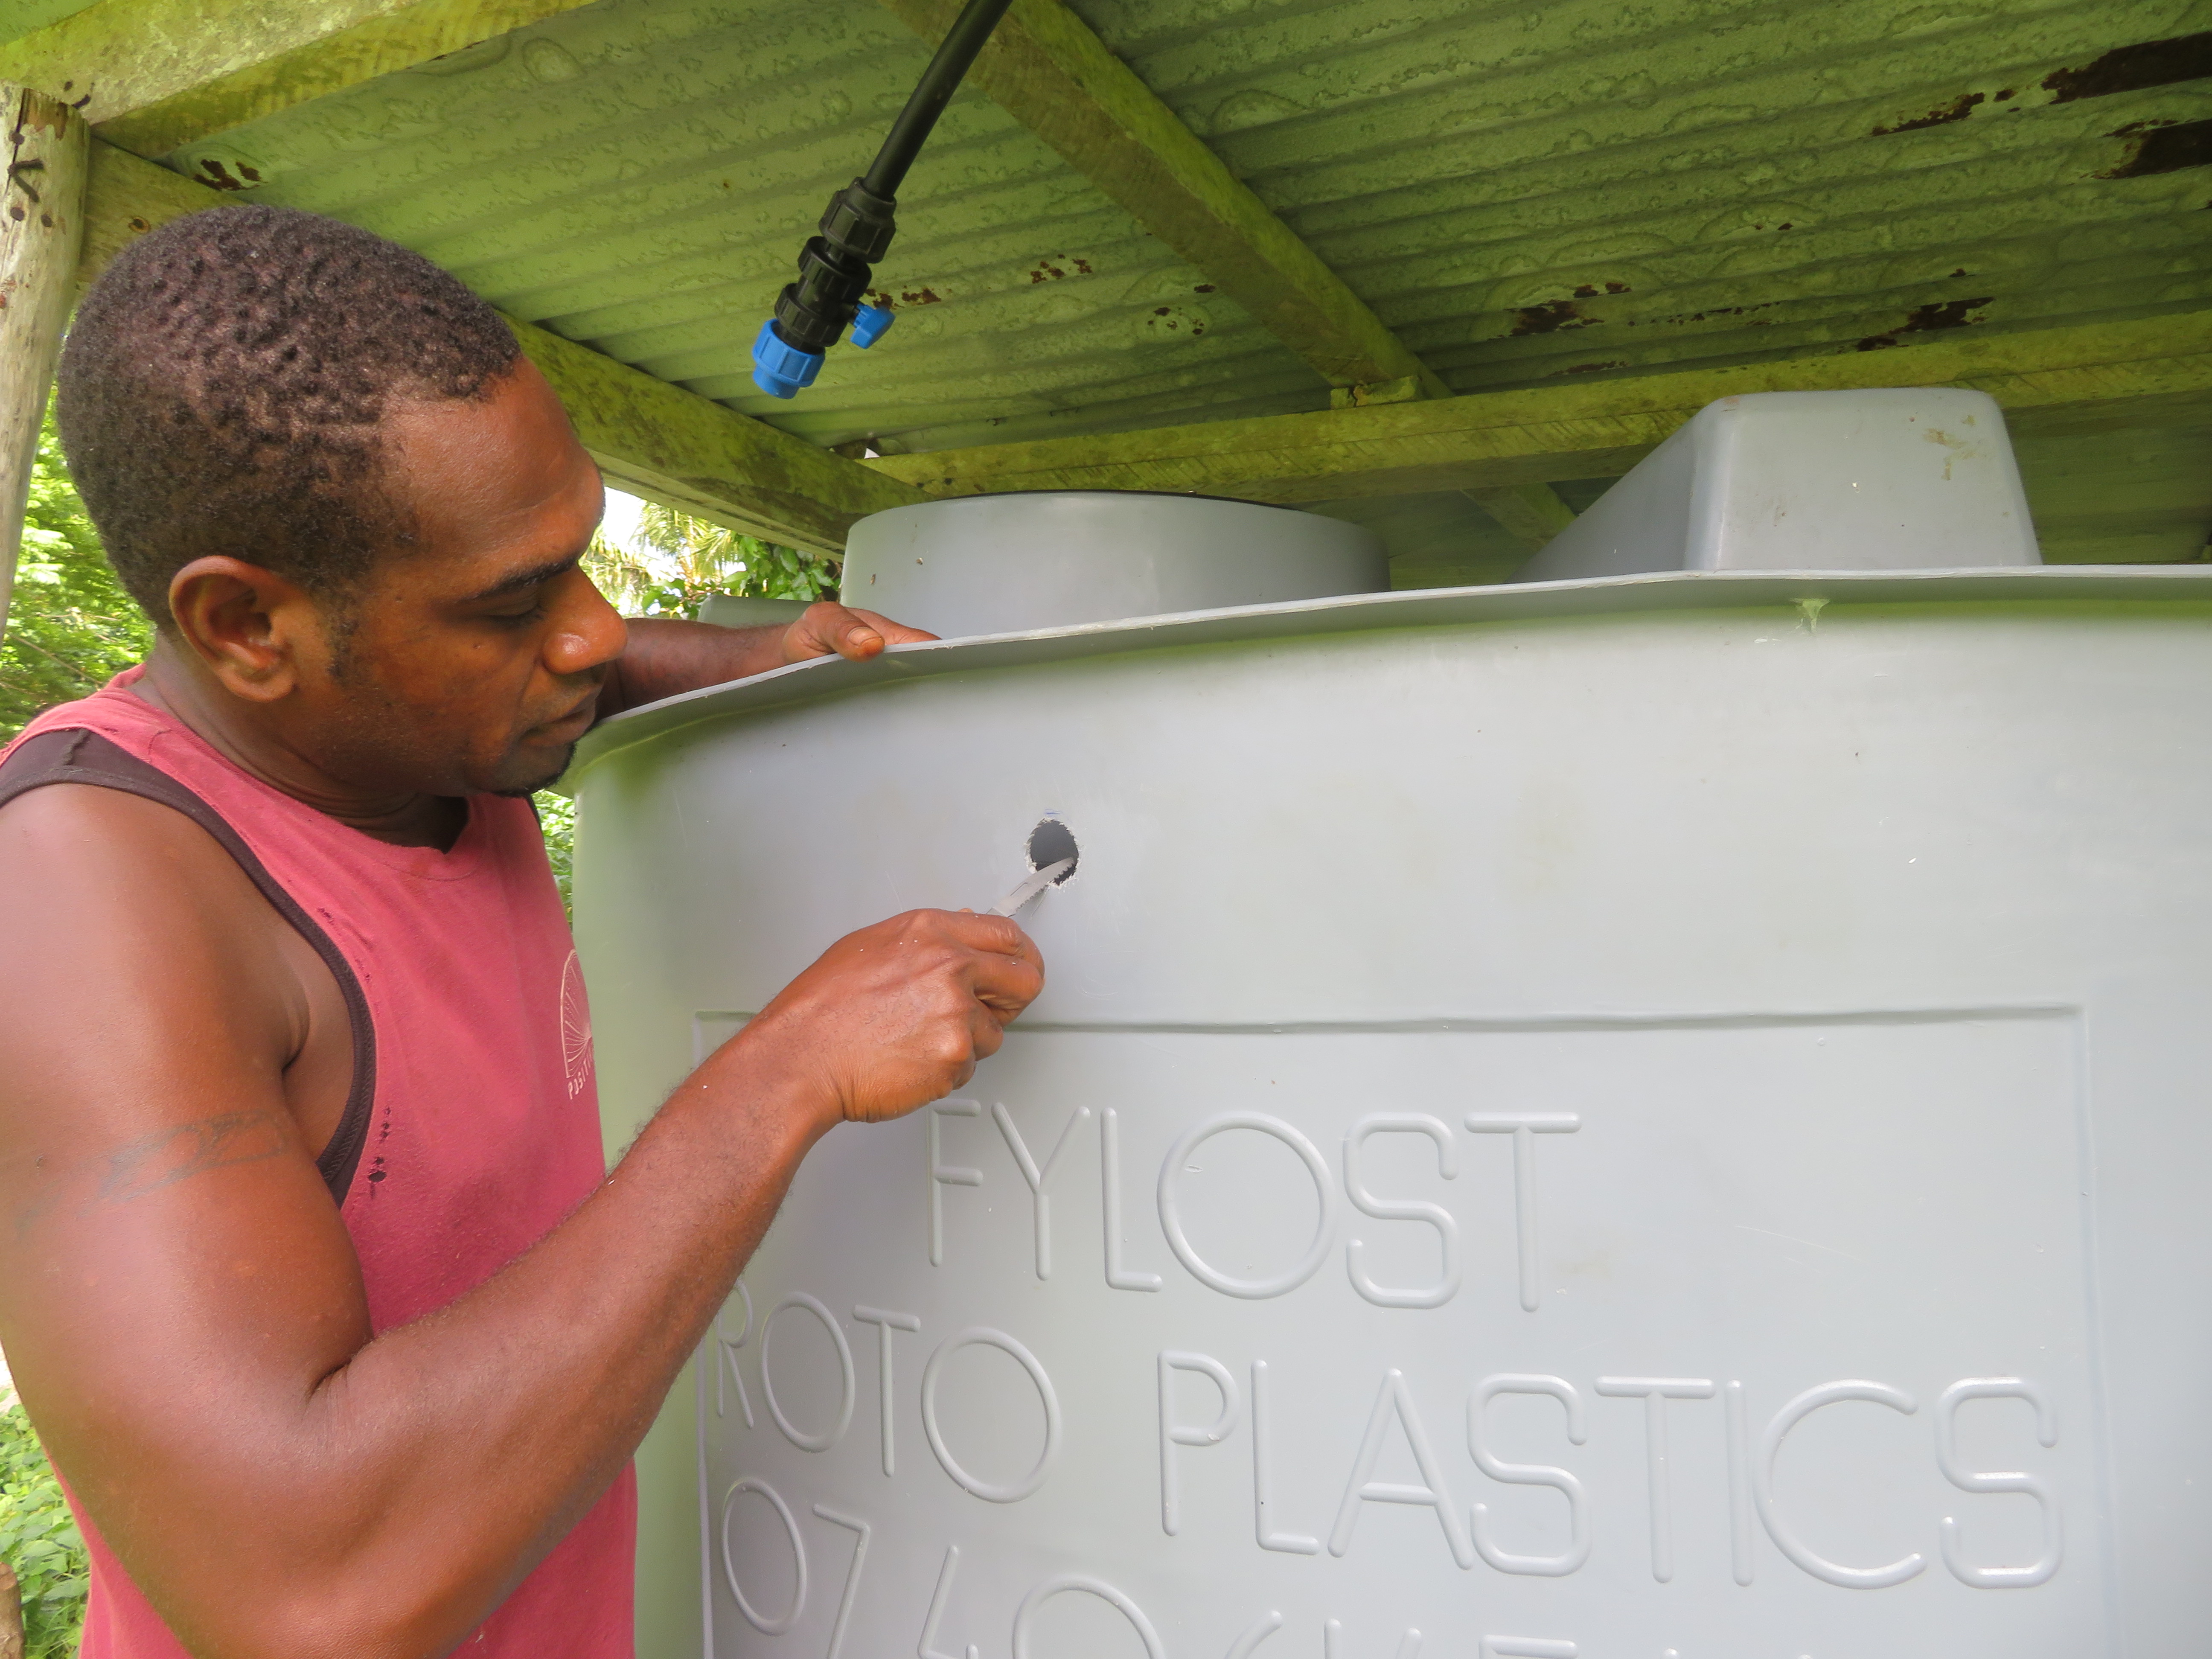
Long story short though, we developed an affordable alternative and it might be my favorite piece of appropriate technology yet. Instead of using the very expensive galvanized iron pipe, the shower is made from the common HDPE poly pipe that we already had on hand. And instead of using the overpriced shower head pictured above, we can fabricate shower heads in site using the same inexpensive poly pipe.

As you can see, it's a very simple arrangement, but the shower actually works great. And the simple design is completely in line with the simple bathing shelters that are standard in the village. The cost of the whole thing is less than US$10 per shower.
Everything is made using the thermoforming techniques that I described in this earlier post. The spray head section is made by fusing closed the end of a pipe and then bending it into a loop. Tiny holes drilled in the pipe establish the spray pattern.

The riser and shower head combination is fabricated using the same 20 mm poly pipe that we are using for the small branch lines that run to individual homes. That makes it very simple to run a branch line right up to the brass valve, which is the only other purchased hardware required.


And speaking of context, there's no need for any drain piping in these simple bathrooms. A small concrete slab to stand on nice, but optional, and a surrounding bed of coral (or gravel) is all that's needed for the runoff to dissipate harmlessly into the ground.

*Footnote: It occurred to me that you might have thought I was joking with that photo caption of Moses practicing his knife skills. Far from it. That's actually how it's done here. I've been watching Moses use knives from literally before he learned to walk, and within a couple of years he'll be swinging one with a precocious finesse and frightening force that will amaze you (if you can bring yourself to look). Check out his cousins in their impromptu workshop. They were fashioning the axles for their sweet home-made wheelbarrows. Notice the aim of my little brother Eli when he finally finds the stick he wants.(And definitely don't try this at home kids.)
 |
| Andi, Ali, Moses & Eli |
Thanks again for sharing!!
ReplyDeleteAnother beauty, Lou! So proud of you.
ReplyDeleteDad would be impressed, Mom too : )